Your Accounts Receivable customer statements may be printed as often as desired. The statements will be printed in customer number order. Any transactions that have been posted to the accounts will print on the statements. The balances will be printed as if the accounts had been aged for end of month. It is recommended that an Aged Accounts Receivable Register be printed before statements are printed to verify the information that will appear on the statements. Since the Aged Accounts Receivable Register contains all of the information that will be on the statements, this will also provide the user with an archive copy of this information. Basic also has the ability to use perforated paper. Please contact Basic to order perforated paper.
Statement detail will print differently based on how the customer is setup. Open-Item customers will print all outstanding invoices regardless of the date range. Balance forward customers will print only invoices and transactions that fall within the date range, but the 30, 60, 90 and current balance fields will include everything that has affected the customer's account.
To Setup statement Email Manager
Email Option Setup
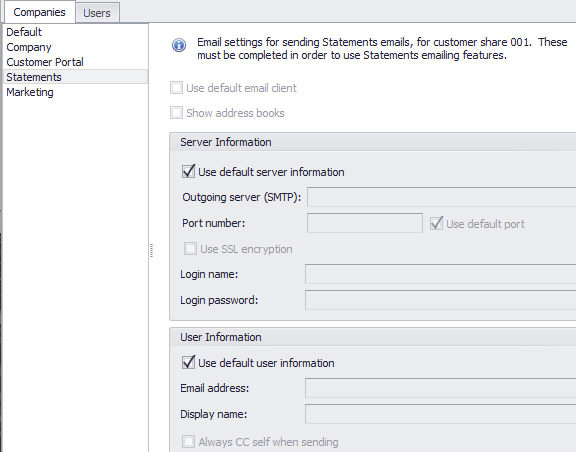
From the main menu, select Admin -> Email Options. On the Companies tab, select “Statements” from the list of the left side and enter the email server information. If you have already entered email server information under the “Default” setting, and the information is the same, you may instead check the “Use default server information” checkbox.
Customer Account Email Statement
From the Customer-Receivables main menu, select the File-Update -> Master Customer Information. Advance to the second page and on the left hand side, indicate the options for statements. Change Statement Code to “E” indicating the customer is to receive statements via email.
Statement Emailing - Print/Email Statements
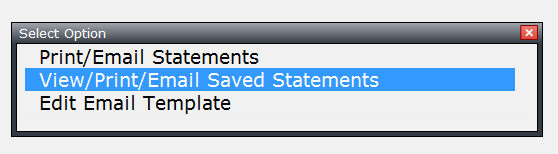
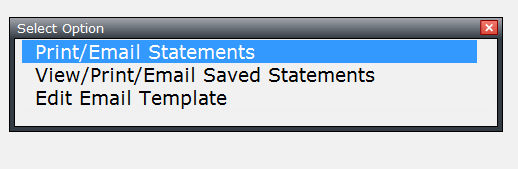
From the Customer-Receivables main menu, select the Reports -> Statements. You will be prompted with three options: Print/Email Statements, View/Print/Email Saved Statements, and Edit Email Template.
Select this option to generate statements for printing and emailing. To email them, enter “Y” in the field “Email statements to customers?”.
View/Print/Email Saved Statements
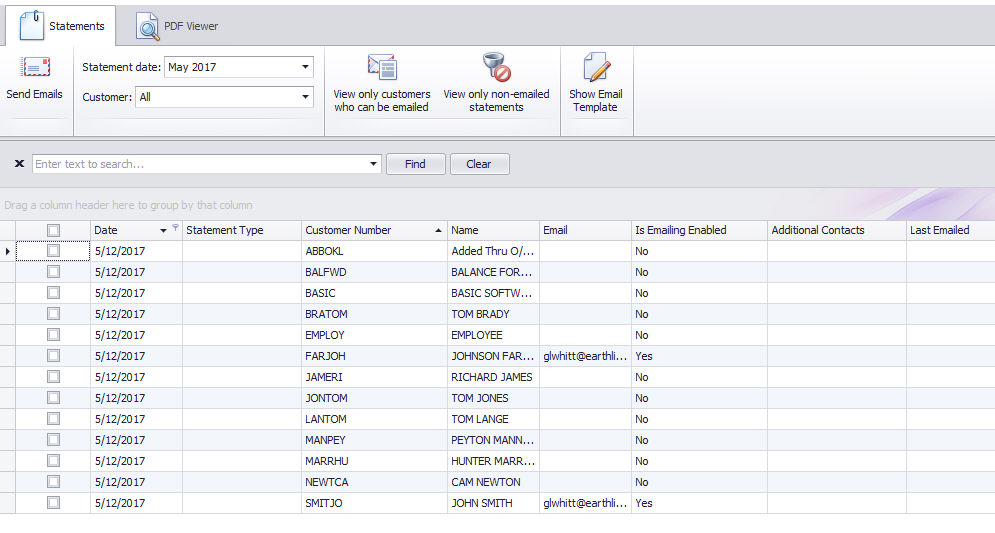
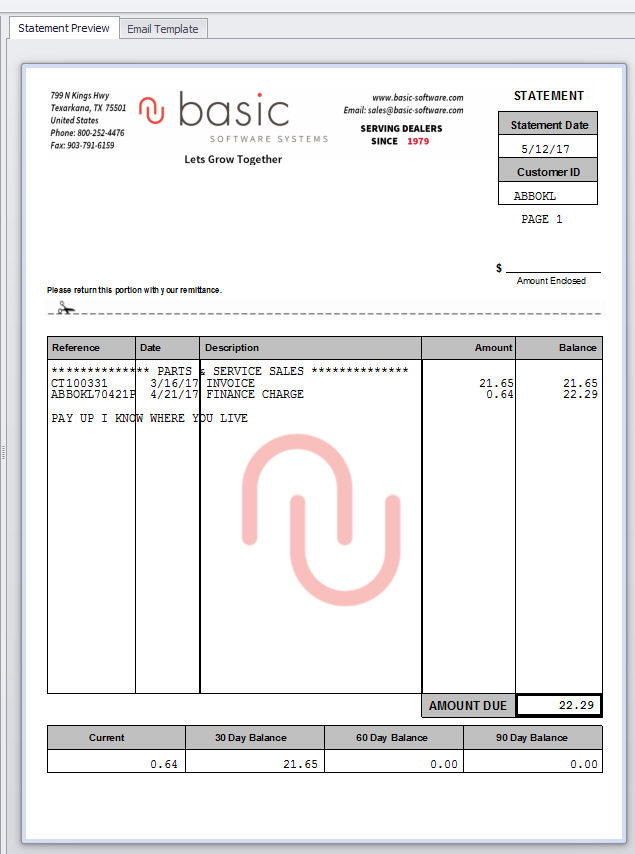
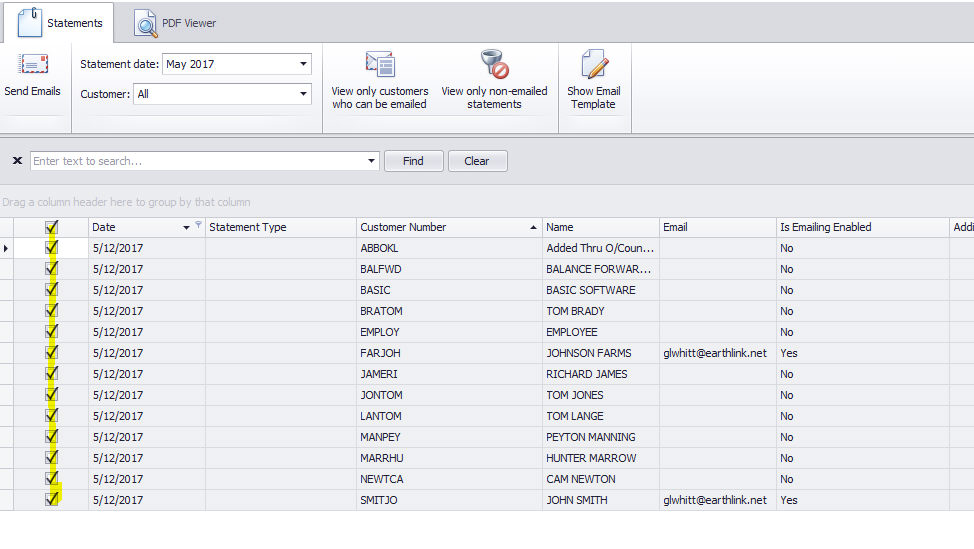
Select this option to manage statements that have already been generated. A list of all generated statements will be displayed. To see a preview of each statement, select the grid row for that statement, and the preview will be displayed on the right side of the screen under the “Statement Preview” tab. To email statements, select the statement rows by clicking on the checkbox on the left side of the grid, and then select the “Send Emails” button.
Left Hand of the screen
Right Side of the screen
Sending Emails
To email statements to their customers, select the statements by clicking the checkboxes on the left side of the grid. To select all displayed statements, click the checkbox in the column header of the selection column, in the upper left corner of the grid. To filter the list of displayed statements, see the next section, “Filtering and Sorting Statements”. When your statements are selected, select the “Send Emails” button in the Statements menu. If any of the statements have already been sent, a warning message will be displayed, but you will be able to continue. If any errors occurred while sending emails, a red “X” will be displayed on the rows that contain the errors. Hovering over the X with the mouse will cause the error message to be displayed.
Filtering and Sorting Statements
There are several ways to query statement data. You can view all statements from a single month by selecting an item from the Statement Date dropdown. You can view all statements for a single customer by selecting a customer from the Customer dropdown. Clicking the “View only customers who can be emailed” button will display statements only for customers who have an email address, and who have selected the option to have statements emailed to them. Clicking the “View only non-emailed statements” button will display only statements that have not yet been emailed.
Additionally, you can do a text search by typing text into the “Enter text to search” box at the top of the grid. This will display all rows where any part of their fields contain the search text. You can also sort by any grid column by clicking the column header. Clicking the same column header again will reverse the sort.
Statement Preview
On the right side of the screen, statements can be viewed by selecting the appropriate grid row. On the PDF Viewer menu at the top, you can perform several functions relating to the statement preview. You can save the preview to an external PDF file by selecting “Save to PDF”. You can print the statement by selecting the Print button. You can email the currently viewed statement by selecting the Email button, which will open the email dialog, where you can select recipients and type a message before sending. Note that this feature is only for sending the statement to a different recipient than the customer, and it only sends the currently viewed statement. To send statements to their respective customers, and in batches, please use the “Send Emails” command under the Statements menu.
Email Template
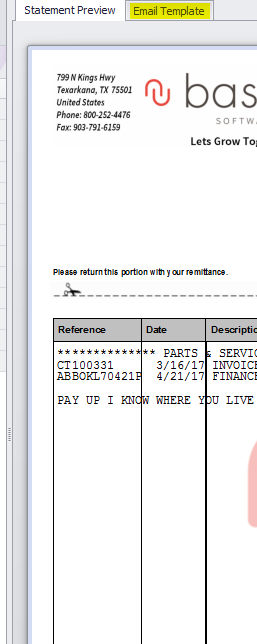
Selecting the “Email Template” tab on the right side of the screen will display the email message that will be sent to the customer of the currently selected statement. If you have multiple email templates stored, you can select the template to be used from the Template dropdown.
See the “Edit Email Template” section for details on how to edit your templates.
Edit Email Template
Select this option to edit your email templates. This can also be done from the main statement manager, but this option does not display a list of customer statements.
To edit the currently selected template, select the “Edit Template” button from the Edit Template menu. You will then go into edit mode, and you will be able to edit the message. You can use the commands from the Edit Template menu to add pictures, hyperlinks, and tables. You can change the font type, size, style, and color from the Format menu.
While in edit mode, a window will be visible containing fields that pertain to the current statement and customer. You may drag or double-click these fields to place them in the template. While in edit mode, these fields will be marked as {DOCVARIABLE Field Name}, but when you are not in edit mode, these fields will contain actual data from the currently selected statement/customer.
To create a new template, select the “New Template” button. To save the edited template, select the “Save Template” button. To save a copy of the current template, select the “Save Template As” button. If it is a new template or if you are saving a copy, you will be prompted to enter a name for the template. To cancel the editing without saving changes, select the “Cancel Edit” button. To delete the currently open template, select the “Delete Template” button.
When you generate and email statements, if you have only one template defined (not including the starter template), then that template will be used, and the process will be automatic, requiring no user intervention. If you have more than one template saved, you will be prompted to select the template you wish to use, and then you must manually select the “Send Emails” button to continue the emailing process.
To generate statements
Select Customer Manager Menu>>Reports>>Statements.
Complete this screen. (Click on a field name for an overview. An asterisk (*) denotes required fields.)
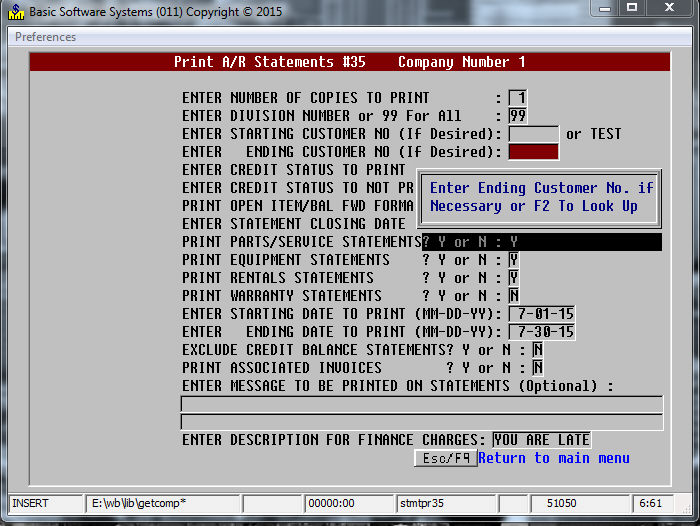
ENTER NUMBER of copies to print
enter division number or 99 For All
Enter starting customer no (if desired)
enter ending customer no (if desired)
enter credit status to not print
print open item/bal fwd format (o or b)
enter statement closing date (mmddyy)
print parts/service statements? y or n
print equipment statements? y or n
print rentals statements? y or n
print warranty statements? y or n
enter starting date to print (mmddyy)
enter ending date to print (mmddyy)
EXCLUDE CREDIT Balance statements? Y or N
enter message to be printed on statements (optional)
enter description for finance charges
Press ENTER.
The system will print the statements according to the criteria you entered.
|
Pressing F2 in a date field will pop up a calendar. |